Downloading and Installing TIBCO™ Cloud - Proxy Agent
To use TIBCO Cloud - Proxy Agent, you must download TIBCO Cloud - Proxy Agent and configure it.
Downloading TIBCO Cloud - Proxy Agent
- Procedure
-
Go to the Settings tab, click the Proxy Agent access keys tab.
-
Click the Download TIBCO CloudTM - Proxy Agent link.
-
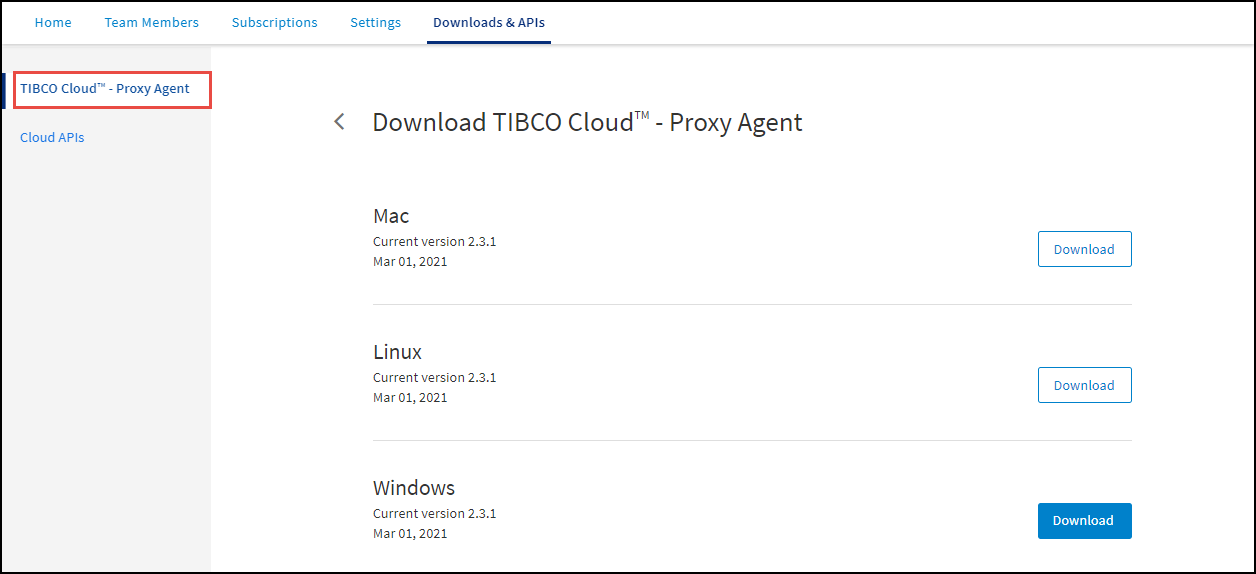
On the Download TIBCO CloudTM - Proxy Agent page, click the Download button next to the operating system that you use.
You can also download TIBCO Cloud - Proxy Agent from the Downloads & APIs tab.
Installing TIBCO Cloud - Proxy Agent
After downloading TIBCO Cloud - Proxy Agent, perform the following steps to install it:
- Procedure
-
Copy the
tibtunnelortibtunnel.exefile to the desired location on your local drive. For example, copy it toc:\tibtunnel\(for Windows) or~/tibtunnel/(for UNIX or macOS). -
Add the directory to your system path variable.
For Linux/Mac:
- Procedure
-
Enter
echo 'export PATH=$PATH:~/tibtunnel' >> $HOME/.profile. -
Close and reopen your shell, or enter
source $HOME/.profile.
For Windows:
- Procedure
-
Click Computer.
-
Click System properties, then click Advanced system settings.
-
Click Environment Variables.
-
Edit the
PATHvariable and addc:\tibtunnel\. -
Click OK in the Environment Variables window and then click OK in the System Properties window.
-
-
For UNIX or macOS systems, change the permissions of the
tibtunnelexecutable as follows:chmod 755 tibtunnel
To test whether the installation is successful:
Open a command prompt, and run the following command:
tibtunnel --version
The version number and build is displayed if the installation is successful. For example,
tibtunnel version 2.3.1 (build 95)